This repository is an example of an application running on the Liteflow infrastructure to showcase the uses of the infrastructure and/or be used as a starter kit to launch a product fast.
Features included
The Marketplace template includes the following features:
Open collections (User-generated content)
Mint ERC-721
Mint ERC-1155
Creator’s royalties support
Homepage content customization
Featured NFTs
Featured collections
Featured users
Custom section with featured elements
Search system
Search NFTs
Search collections
Search users
Explore NFTs, collections and users with filtering and sorting systems
Explore NFTs
Filter by chain
Filter by status
Filter by price
Filter by collection
Filter by traits
Sort by dates
Explore collections
Filter by chain
Sort by volumes
Explore users
Native currency and ERC20 support
Lazymint for NFTs
List NFTs on sale
Partial filling
Fixed price listing
Make offers on NFTs
Partial filling
Open offer
Purchase NFTs
User profile
Account
Profile edition
Wallet page
NFTs “on sale”
NFTs “owned”
NFTs “created”
Offers (“bids”) management
Trades history
Listings (“offers”) management
User verification system (verified status)
Report system
Report a user
Report an NFT
Notifications
In-app notifications
Email notifications
NFT details
Chain information
Explorer link
Media IPFS link
Metadata IPFS link
Traits with percentages
NFT history (activity)
Lazyminted
Minted
Listed
Purchased
Transferred
Wallet connection with
Metamask
Coinbase
WalletConnect
Magic
Rainbow
Multi-chain support
Multi currency support
Advanced fee customization support
It also includes compatibility with the following features:
Multi-language compatibility
Credit card payment gateway compatibility
Email connection compatibility
Wallet-to-wallet messaging system
Libraries used
The Marketplace template is based on the following tech stack
To get started, start by configuring your environmental variables in the .env file, referring to the .env.example file as a guide.
For further customization, an optional option is to utilize the environment.ts file.
Once done you can install all the dependencies with npm i then run
All modified code falls under the mod’s same license.
Bee
Tends to buzz around flowers and gives honey when killed, you can also right-click a bee to pick it up and place in inventory. 3x bee’s in a row can craft a beehive.
Bunny
Bunnies appear in green grass areas (prairie biome in ethereal) and can be tamed with 4 carrots or grass. Can also be picked up and placed in inventory and gives 1 raw rabbit and 1 rabbit hide when killed.
Chicken
Found in green areas (bamboo biome in ethereal) and lays eggs on flat ground, Can be picked up and placed in inventory and gives 1-2 raw chicken when killed. Feed 8x wheat seed to breed.
Cow
Wanders around eating grass/wheat and can be right-clicked with empty bucket to get milk. Cows will defend themselves when hit and can be right-clicked with 8x wheat to tame and breed.
Kitten
Found on green grass these cute cats walk around and can be picked up and placed in inventory as pets or right-clicked with 4x live rats or raw fish (found in ethereal) and tamed. They can sometimes leave you little gifts of a hairball.
Rat
Typically found around stone they can be picked up and cooked for eating.
Sheep
Green grass and wheat munchers that can be clipped using shears to give 1-3 wool. Feed sheep 8x wheat to regrow wool, tame and breed. Right-click a tamed sheep with dye to change it’s colour. Will drop 1-3 raw mutton when killed.
Warthog
Warthogs unlike pigs defend themselves when hit and give 1-3 raw pork when killed, they can also be right-clicked with 8x apples to tame or breed.
Penguin
These little guys can be found in glacier biomes on top of snow and have the ability to swim if they fall into water.
Panda
These monochrome cuties spawn in Ethereal’s bamboo biome and can be tamed with bamboo stalks 🙂 Remember they have claws though.
Note: After breeding, animals need to rest for 4 minutes and baby animals take 4 minutes to grow up, also feeding them helps them grow quicker…
This repository contains my research on what Li-ion batteries are, how they work and how i created a battery managment system for these cells must have the following components in-order to charge/discharge the li-ion battery saftely:
Overcharge
Over-discharge
Discharge too quickly
Warning
li-ion batteries are highly dangerous. They can catch fire or explode if mishandled. Proceed with caution at your own risk.
Its a secret🤫, do not tell anyone. They are lithium ion batteries.
Lithium ion battery is an advanced battery technology that uses lithium ions as key component of its electrochemical reaction.
I will discuss about the process in detail in the respective topic guide.
Right now just remember that the lithium ions move from the negative electrode through an electrolyte to the positive electrode during discharge, and back when charging.
Advantages of li-ion Battery
Lithium ion batteries are one of the highest energy dense batteries in the world today.
They can store up to 100-265 Wh/kg or 250-670 Wh/L.
In addition to this they can celiver upto 3.6V.
This is 3 times higher then the Ni-Cd or Ni-Mh battery technologies.
They can deliver large amounts of current for higher-power applications.
Lithum Ion batteries require low maintenance
They do not require scheduled cycling to maintain thier battery life.
Li-ion batteries have no memory effect.
Memory effect is a detrimental process where repeated partial discharge/charge cycles can cause a battery to “remember” a lower capacity.
Li-ion batteries have a low self-discharge rate of 1.5-2 % per month.
They are easily disposable because they are not made of toxic materials like cadmium.
Disadvantages of li-ionn Battery
Development
The 18650 cells are Lithium-ion battery.
Lithium-ion battery is a type of rechargeable battery.
The first prototype of the Li-ion battery was developed by Akira Yoshino. in 1985, based on the research by John Goodenough, M.Stanley Whittingham, Rachid Yazami and koichi Mizushima during 1970-1980s.
The first commercial batteries were developed by sony and Asahi Kasei team led by Yoshio Nishi in 1991.
For more information click here.
Uses
Due to the advantages the li-ion batteries have displace the Ni-Cd batteries in portable electronic devices like laptops and smart phones.
These batteries are also help in millitary and aerospace applications.
Warning: although this project has some basics security such as hashed user password, encrypt messages and so on, this project is NOT secure enough in production. (Contribute to this project by making a pull request will be appreciated)
How to run:
Clone this repository or fork it.
To clone this repository type git clone https://github.com/kimlimjustin/whatsapp-clone.git on your command line
To fork this repository, click fork button of this repository then type git clone https://github.com/<your username>/whatsapp-clone.git
Inside server folder, create a new file named .env which stores informations about server side such as ATLAS_URI, SECURITY_KEY and CLIENT_URL informations
store your database URI inside ATLAS_URI variable
store your security key inside SECURITY_KEY variable
Inside client folder, create a new file called .env which stores your information about client side such as REACT_APP_SECURITY_KEY and REACT_APP_BACKEND_URL informations
store your security key inside REACT_APP_SECURITY_KEY variable, note that this value must same as SECURITY_KEY in server/.env file
store your server url inside REACT_APP_BACKEND_URL
A Ruby interpreter is any program that parses the Ruby source code to imitate its behavioral execution. It converts the program line by line compared to a compiler which converts the whole program at once. Hence, a code change only requires an edit. Interpreters only throw an error if the program gets executed and reach the line that containes the error, whereas compilers will throw the error already before execution.
There are multiple versions of Ruby interpreters to choose from, each with a different but very similar set of rules and options.
The BasicObject class is the top parent of all class. It is a blank instance of class class with no superclass and contains a minimum of methods for object creation and comparison.
irb> class User
irb> end
 => nil
irb> User
 => User
irb> User.class
 => Class
irb> User.superclass
 => Object
irb> Object.ancestors
 => [Object, Kernel, BasicObject]
irb> BasicObject.class
 => Class
irb> BasicObject.superclass
 => nil
irb> BasicObject.ancestors
 => [BasicObject]
Ever wondered if there is a better way how you can traverse through multi-layer hashes or arrays to retrieve a specific value? Luckily Ruby 2.3 introduced a new method called dig.
In Ruby there are two common naming conventions for methods. Either you end a method name with a ! or ?.
Methods ended by a ! are called bang methods and often modifies the original object.
irb> book_title = "example book title"
=>"example book title"
irb> puts book_title.capitalize!
Example book title
=> nil
irb> puts book_title
Example book title
=> nil
irb>
A famous example is merge vs merge! when dealing with params, whereas the former method will return the params and the latest modifies the original params.
The question mark at the end of a method name indicates that we can expect a boolean as return value.
The Kernel module is included by class Object and provides methods that are globally available, hence every Ruby object has access to them. These methods are called without a receiver and only act on the passed arguments.
Ever wondered how you can find out where exactly a method lives inside Ruby?
Ruby offers two helpful methods here. By passing the name of the method as a symbol to owner will reveal where a method lives inside Ruby. If you curious about who receives s specific method, just pass the name again as a symbol to receiver.
irb> method(:initialize).owner
 => BasicObject
irb> method(:initialize).receiver
 => main
The *splat operator has almost endless uses. But the main idea is that whenever you don’t want to specify the number of arguments you have, you would use a splat operator. The simplest example would be something like this:
to_s is an explicit casting helper and is used to transform a value from one type to another. to_str is an implicit casting helper
with the same purpose. The difference is that the former will always return a string whereas the later will result in an error or data loss
if the value it acts on does not act like the type we are casting. Ruby will only return a value when objects act like the type.
Ruby is very strict when using an implicit casting helper to ensure that the value acts like the type we want.
irb> [1, 2].to_s
=>"[1, 2]"
irb> [1, 2].to_str
NoMethodError: undefined method `to_str`for [1, 2]:Array
Did you mean? to_s
irb> :name.to_s
=>"name"
irb> :name.to_str
NoMethodError: undefined method `to_str`for :name:Symbol
Did you mean? to_s
to_i is an explicit casting helper and is used to transform a value from one type to another. to_int is an implicit casting helper
with the same purpose. The difference is that the former will always return a string whereas the later will result in an error or data loss
if the value it acts on does not act like the type we are casting. Ruby will only return a value when objects act like the type.
Ruby is very strict when using an implicit casting helper to ensure that the value acts like the type we want.
There is no dedicated Lambda class. A lambda is just a special Proc object. If you take a look at the instance methods from Proc, you will notice there is a lambda? method.
A proc behaves differently than a lambda, specially when it comes to arguments. Procs don’t care about the correct number of arguments, while lambdas will raise an exception.
irb > my_proc = Proc.new { |x,y| puts "I do not care about arguments!" }
=>#<Proc:0x0000556829f8ad68@>
irb > my_proc.call
I do not care about arguments!
=> nil
irb > my_lambda = -> x { "x = #{x}" }
=>#<Proc:0x000056145b4325e0@(lambda)>
irb > my_lambda.call
ArgumentError (wrong number of arguments (given 0, expected 1))
irb > my_lambda.call(10)
=>"x = 10"
to_a is an explicit casting helper and is used to transform a value from one type to another. to_ary is an implicit casting helper
with the same purpose. The difference is that the former will always return a string whereas the later will result in an error or data loss
if the value it acts on does not act like the type we are casting. Ruby will only return a value when objects act like the type.
Ruby is very strict when using an implicit casting helper to ensure that the value acts like the type we want.
The way the map method works in Ruby is, it takes an enumerable object, (i.e. the object you call it on), and a block.
Then, for each of the elements in the enumerable, it executes the block, passing it the current element as an argument. The result of evaluating the block is then used to construct the resulting array.
In other words:
Applying map on an array returns a new array where each element is the result of evaluating the block with the element as an argument.
irb> a = [1, 2, 3]
 => [1, 2, 3]
irb> b = a.map { |n| n * 2 }
 => [2, 4, 6]
irb> b
 => [2, 4, 6]
each is just another method on an object. That means that if you want to iterate over an array with each, you’re calling the each method on that array object.
It takes a list as it’s first argument and a block as the second argument. For every element in the list, it runs the block passing it the current element as a parameter.
You should use each when you want iteration but don’t care about what it returns.
[1, 2, 3].each { |n| puts “Current number is: #{n}” }
irb> [1, 2, 3].each { |n| puts "Current number is: #{n}" }
 Current number is: 1
 Current number is: 2
 Current number is: 3
 => [1, 2, 3]
irb> a = [1, 2, 3]
 => [1, 2, 3]
irb> b = a.each { |n| n * 2 }
 => [1, 2, 3]
irb> b
 => [1, 2, 3]
Passes each element of the collection to the given block. The method returns true if the block never returns false or nil. If the block is not given, Ruby adds an implicit block of { |obj| obj } which will cause all? to return true when none of the collection members are false or nil.
Passes each element of the collection to the given block. The method returns true if the block never returns true for all elements. If the block is not given, none? will return true only if none of the collection members is true.
Passes each element of the collection to the given block. The method returns true if the block ever returns a value other than false or nil. If the block is not given, Ruby adds an implicit block of { |obj| obj } that will cause any? to return true if at least one of the collection members is not false or nil.
Passes each element of the collection to the given block. The method returns true if the block returns true exactly once. If the block is not given, one? will return true only if exactly one of the collection members is true.
irb> a = [500]
=> [500]
irb> a.one?
=>true
irb> a.one? { |e| e < 100 }
=>false
irb> (1..4).one? { |n| n % 2 == 0 }
=>false
Ever wondered how much power Ruby’s count method has? Besides counting the elements of an array, it can do pretty awesome things. So lets’ start with the most common use case counting the elements of an array.
Let’s say you want to count how often the number 3 is represented in the above array. The thought would be to use a loop an iterate over the array and increment a counter every time you see the number 3. But there is a better way. Just pass the object you looking for to the count method.
irb> numbers.count(3)
 => 2
Finally, you can also pass a block to do more complicated counts.
Both methods are used to produce a shallow copy of obj—the instance variables of obj are copied, but not the objects they reference. clone copies the frozen and tainted state of obj whereas dup copies the tainted state of obj.
In general, clone and dup may have different semantics in the descendant classes. While clone is used to duplicate an object, including its internal state, dup typically uses the class of the descendant object to create the new instance. When using dup, any modules that the object has been extended with will not be copied.
The Benchmark module provides methods to measure and report the time used to execute Ruby code. This report shows the user CPU time, system CPU time, the sum of the user and system CPU times, and the elapsed real time. The unit of time is seconds. Consider the following example:
to_h is an explicit casting helper and is used to transform a value from one type to another. to_hash is an implicit casting helper
with the same purpose. The difference is that the former will always return a string whereas the later will result in an error or data loss
if the value it acts on does not act like the type we are casting. Ruby will only return a value when objects act like the type.
Ruby is very strict when using an implicit casting helper to ensure that the value acts like the type we want.
irb > rue.to_s
=>"true"
irb > true.to_str
=> NoMethodError: undefined method `to_str' for true:TrueClassDid you mean? to_s
It is a small daemon that aggregates custom monitoring metrics collected from Google Dataflow workers that use metrics-flow library and exposes them to Prometheus.
How it works
Google Dataflow workers with metrics-flow plugged in pre-aggregate custom monitoring metrics using pipeline windowing functions and dump
the results into a Google Pub/Sub topic. The metrics flow daemon polls a subscription to the topic, converts received metric update events to Prometheus format and exposes them through /metrics endpoint.
Create an empty directory on your host machine (say, % mkdir ~/.mflowd)
Download the service account key in JSON format and put it to the created directory
Finally run the countainer:
% docker run -e "MFLOWD_SUB=<subscription_id>" -v $HOME/.mflowd:/etc/mflowd 'mflowd:latest'
Using docker-compose
You can also run both mflowd and prometheus docker images using docker-compose:
% cd ~/go/src/github.com/QubitProducts/mflowd
% mkdir gcp
# download your service account JSON key to gcp directory
% cat > .env
MFLOWD_SUB=<subscription_id>
MFLOWD_VERBOSE=0 # set to 1 to turn verbose mode on
^C
% docker-compose up
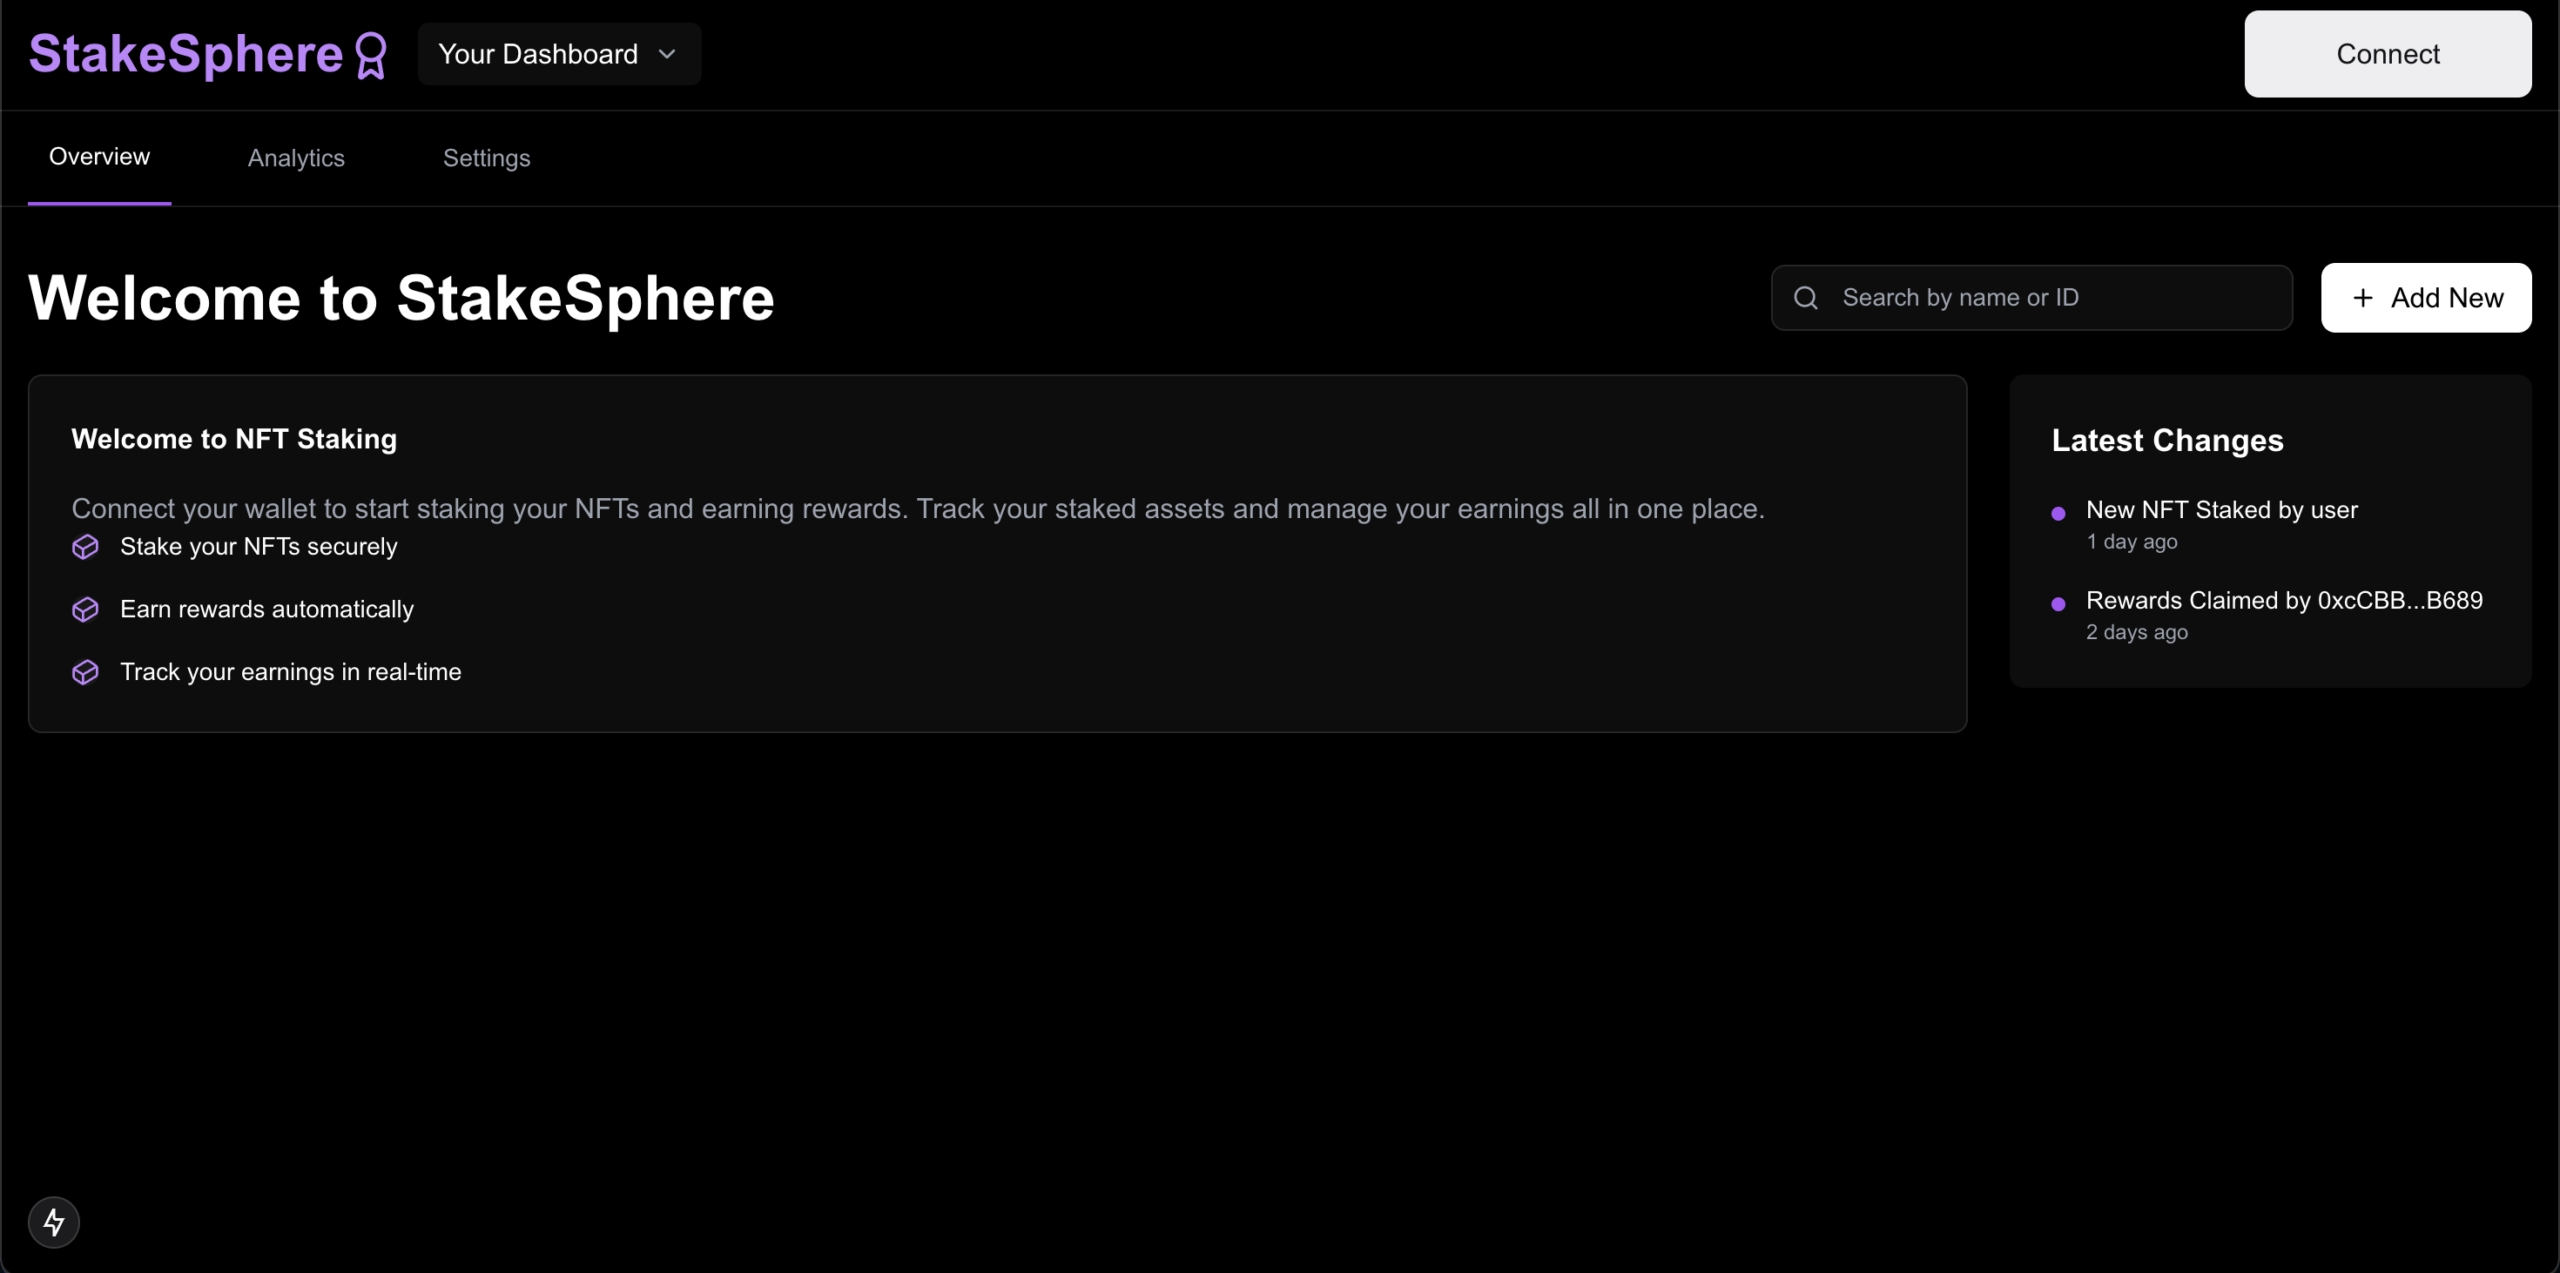
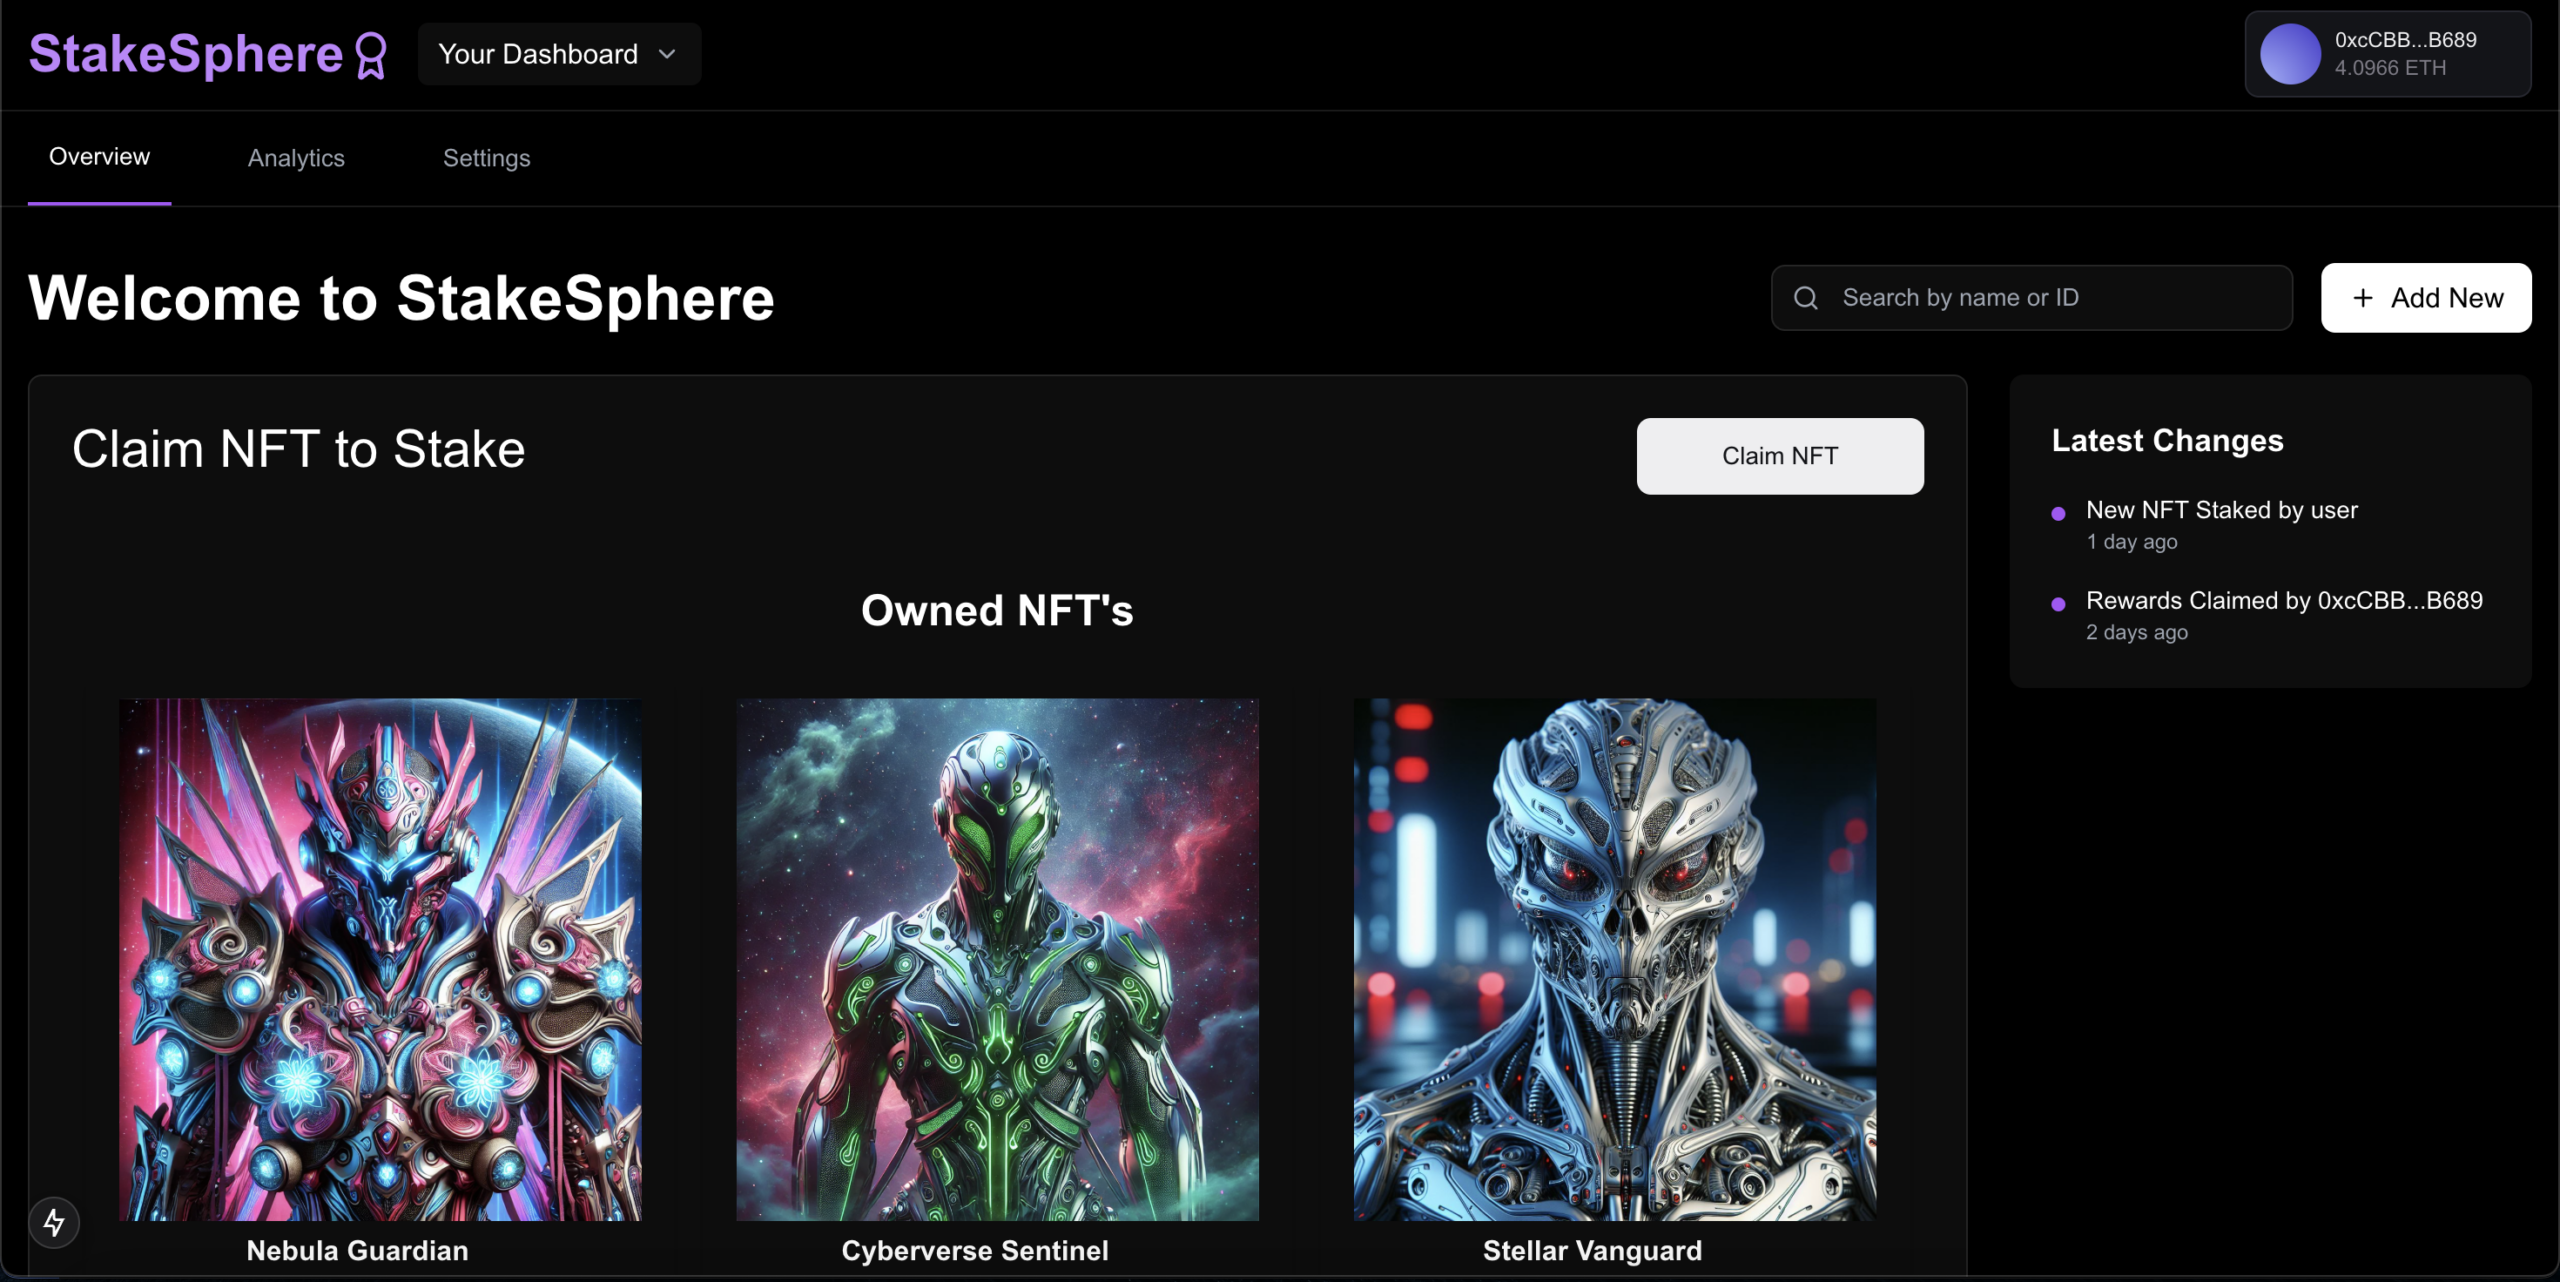
StakeSphere is an NFT Staking Application that allows users to connect their wallets, claim an NFT (if they don’t have one), stake their NFTs for rewards, and withdraw staked NFTs. The application also provides staking rewards for staked NFTs, incentivizing users to participate actively. The app ensures secure blockchain interactions through a streamlined process involving two transactions for approval and staking.
Features
Wallet Connection: Users can connect their wallets to interact with the application.
NFT Claiming: Users who do not own any NFTs can claim one to begin staking.
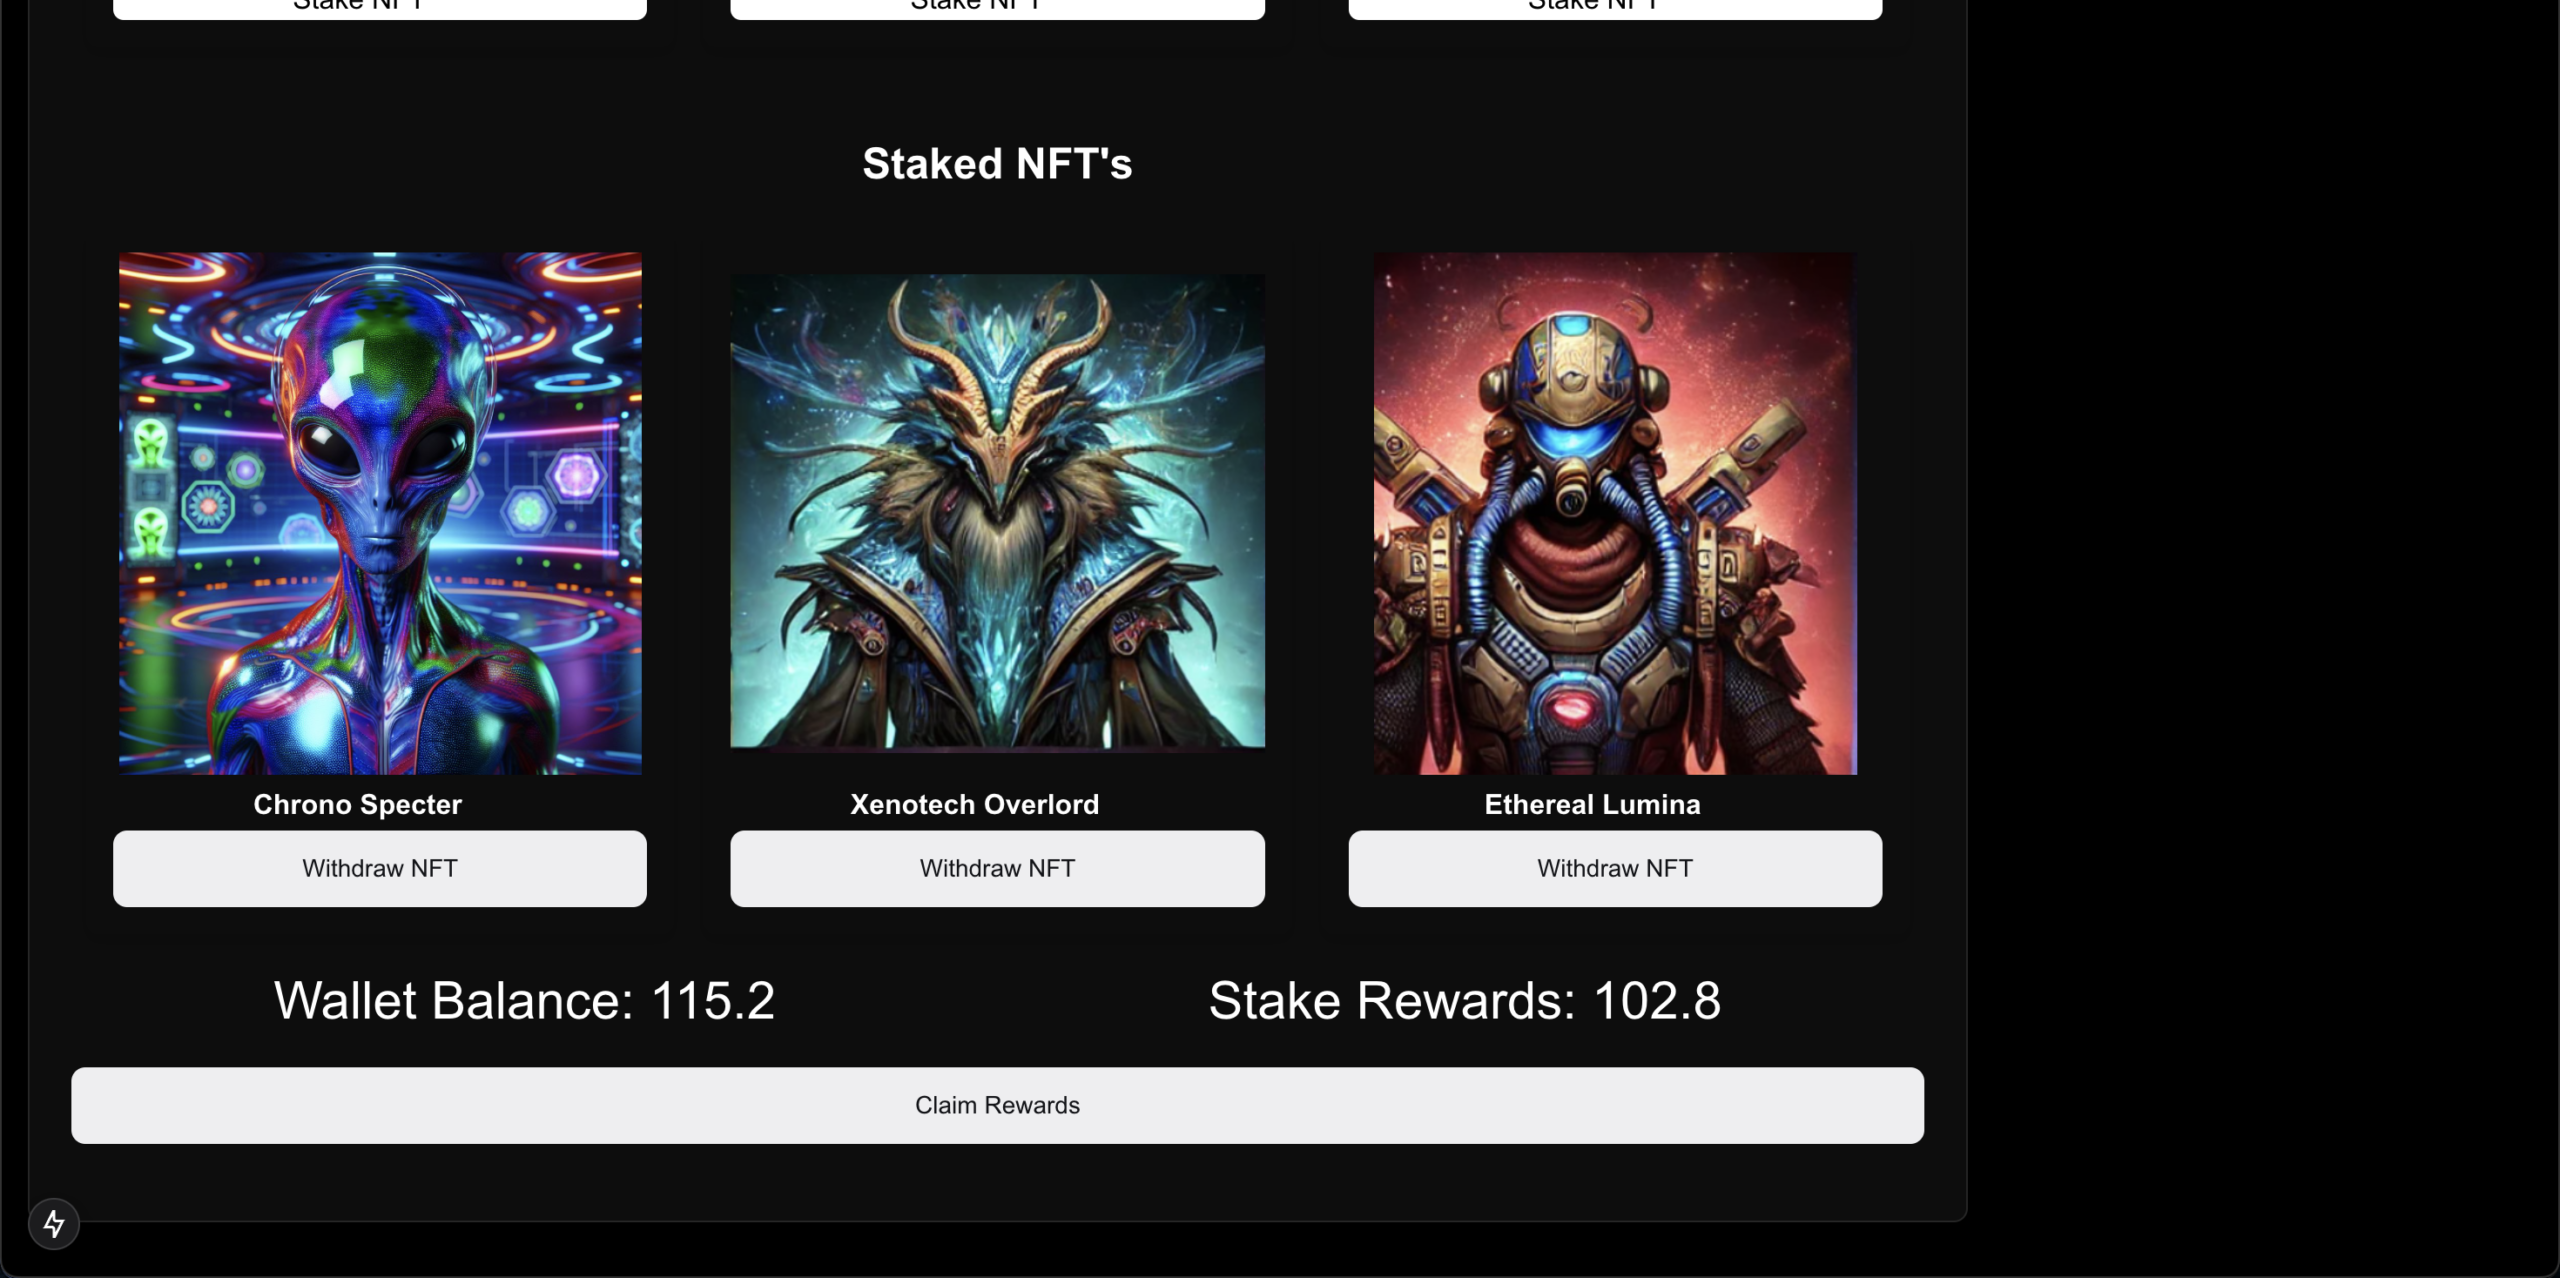
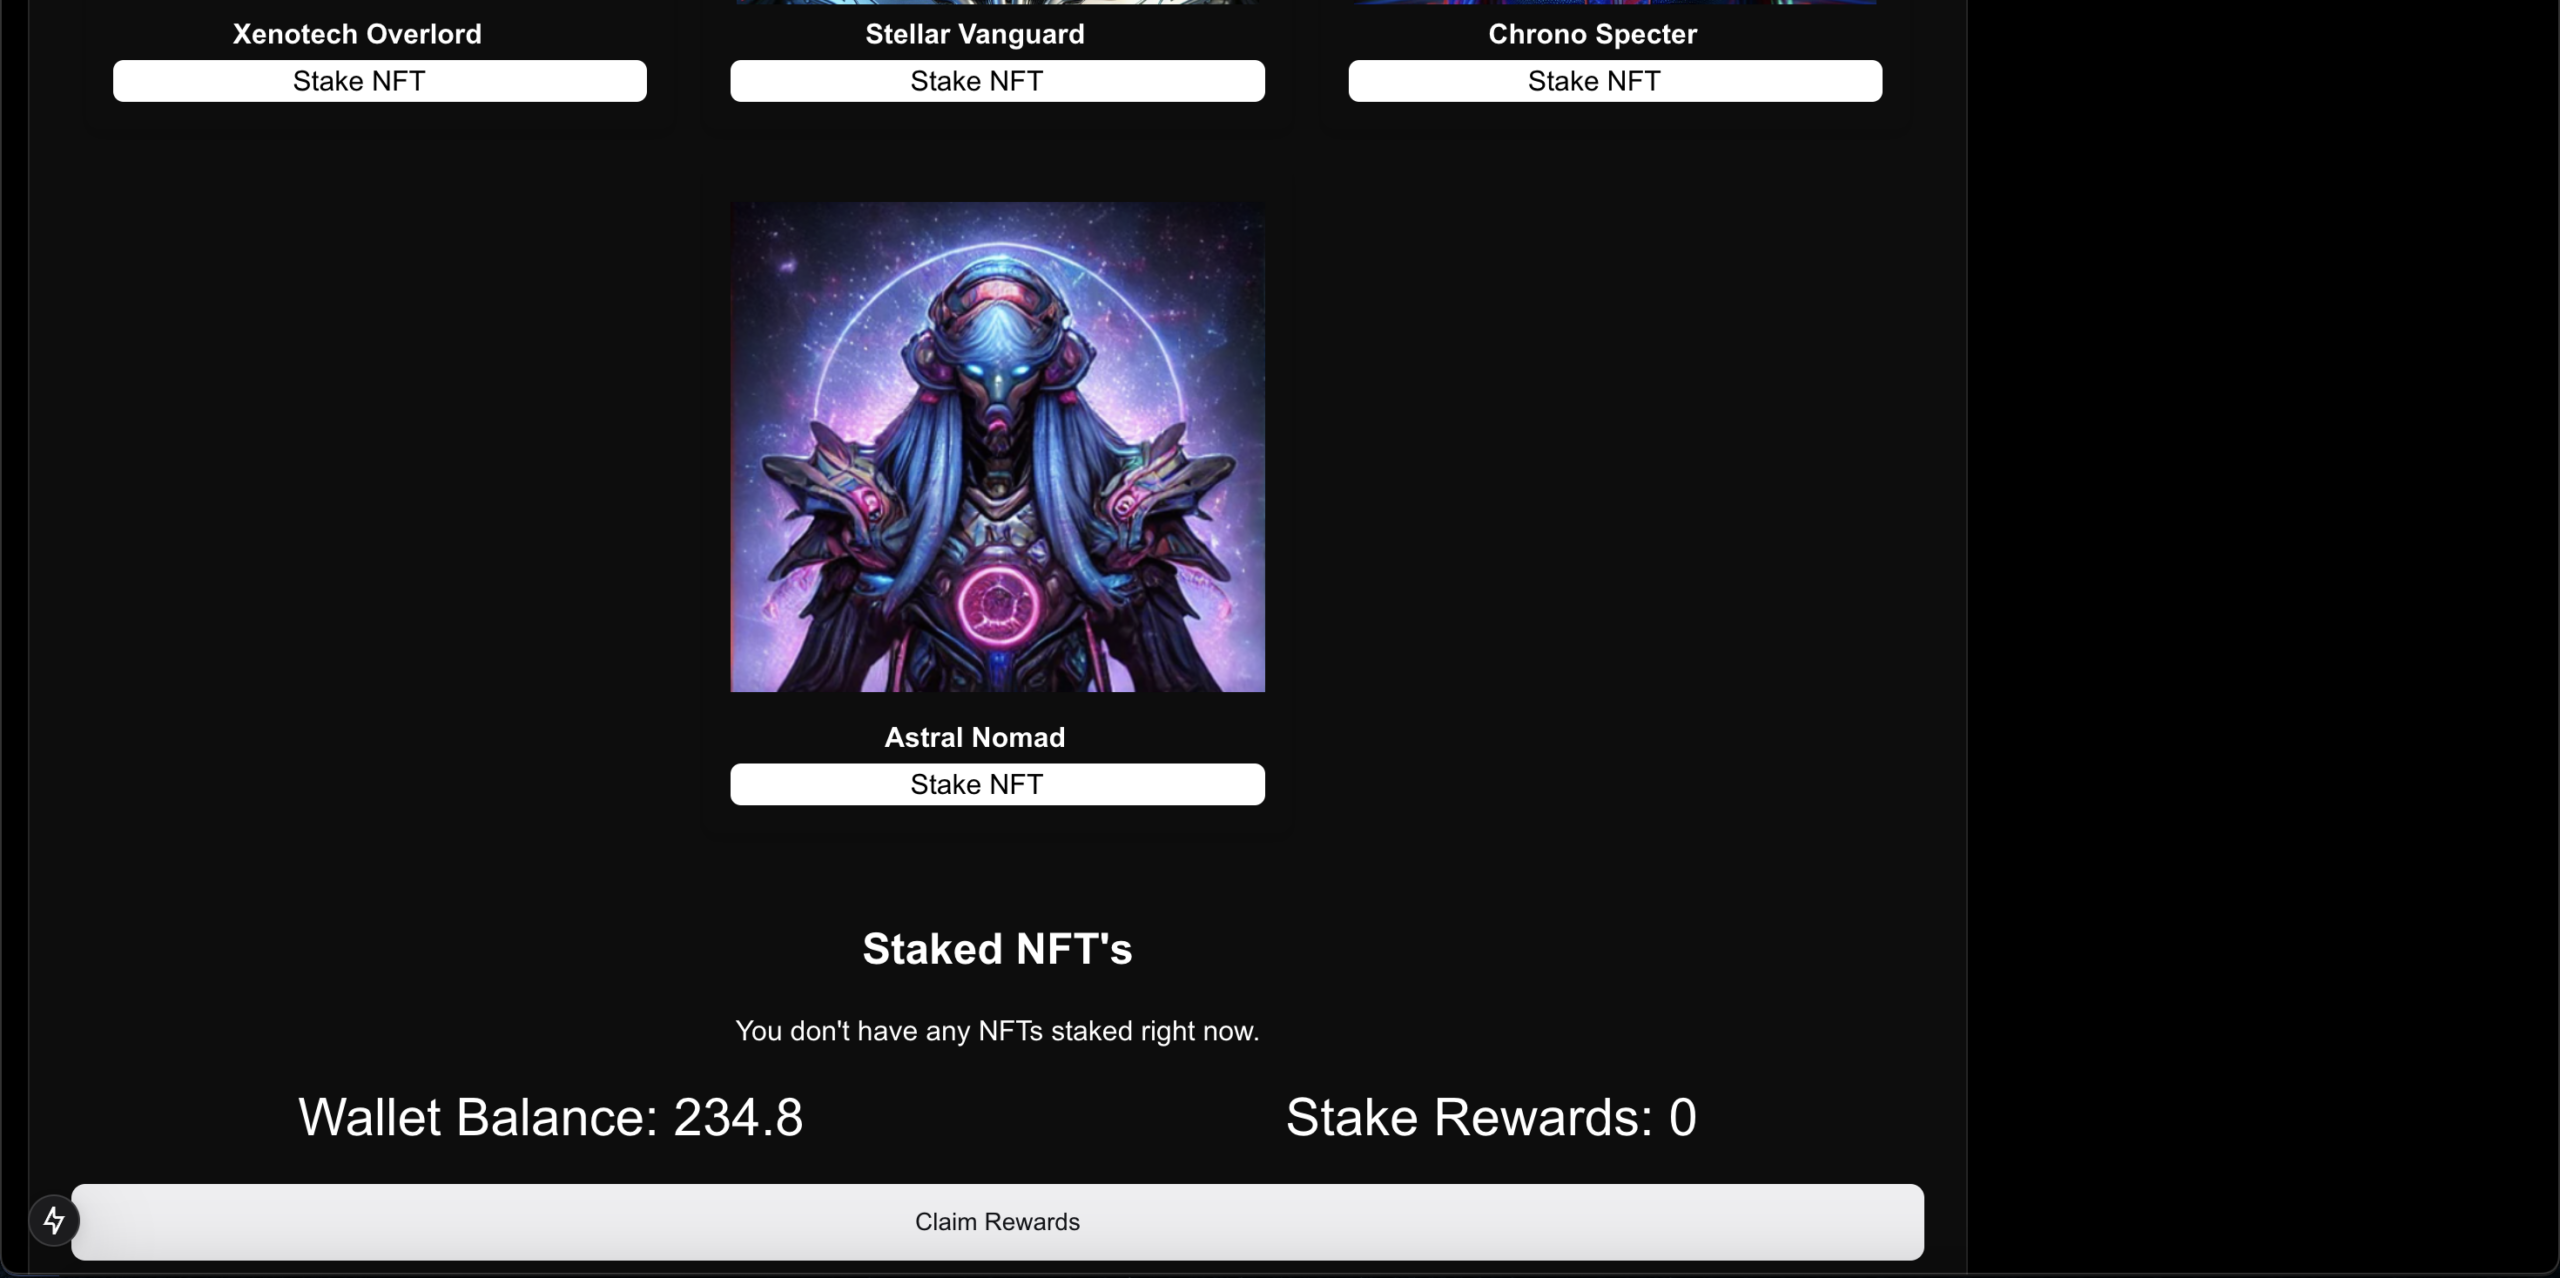
NFT Staking: Stake NFTs securely to earn rewards.
NFT Withdrawal: Withdraw any NFT that has been staked at any time.
Staking Rewards: Users earn rewards for the duration their NFTs are staked.
Transaction Flow: Two transactions are performed during staking:
Approval of the NFT for staking.
Staking of the NFT.
Tech Stack
Frontend: Next.js for server-rendered React applications.
Styling: TailwindCSS for a responsive and modern UI.
Blockchain SDK: Thirdweb for NFT and blockchain interaction.
Language: TypeScript for type-safe development.
Installation and Setup
Prerequisites
Node.js and npm installed on your machine.
Wallet provider (e.g., MetaMask) installed and configured.
Access to a blockchain network supporting NFTs (e.g., Ethereum or Polygon).
Steps
Clone the repository:
git clone https://github.com/your-repo/stakesphere.git
cd stakesphere
Install dependencies:
npm install
Configure environment variables:
Create a .env.local file in the root directory and add your blockchain provider, Thirdweb API keys, and other required credentials.
Start the development server:
npm run dev
Open the application in your browser at http://localhost:3000.
How It Works
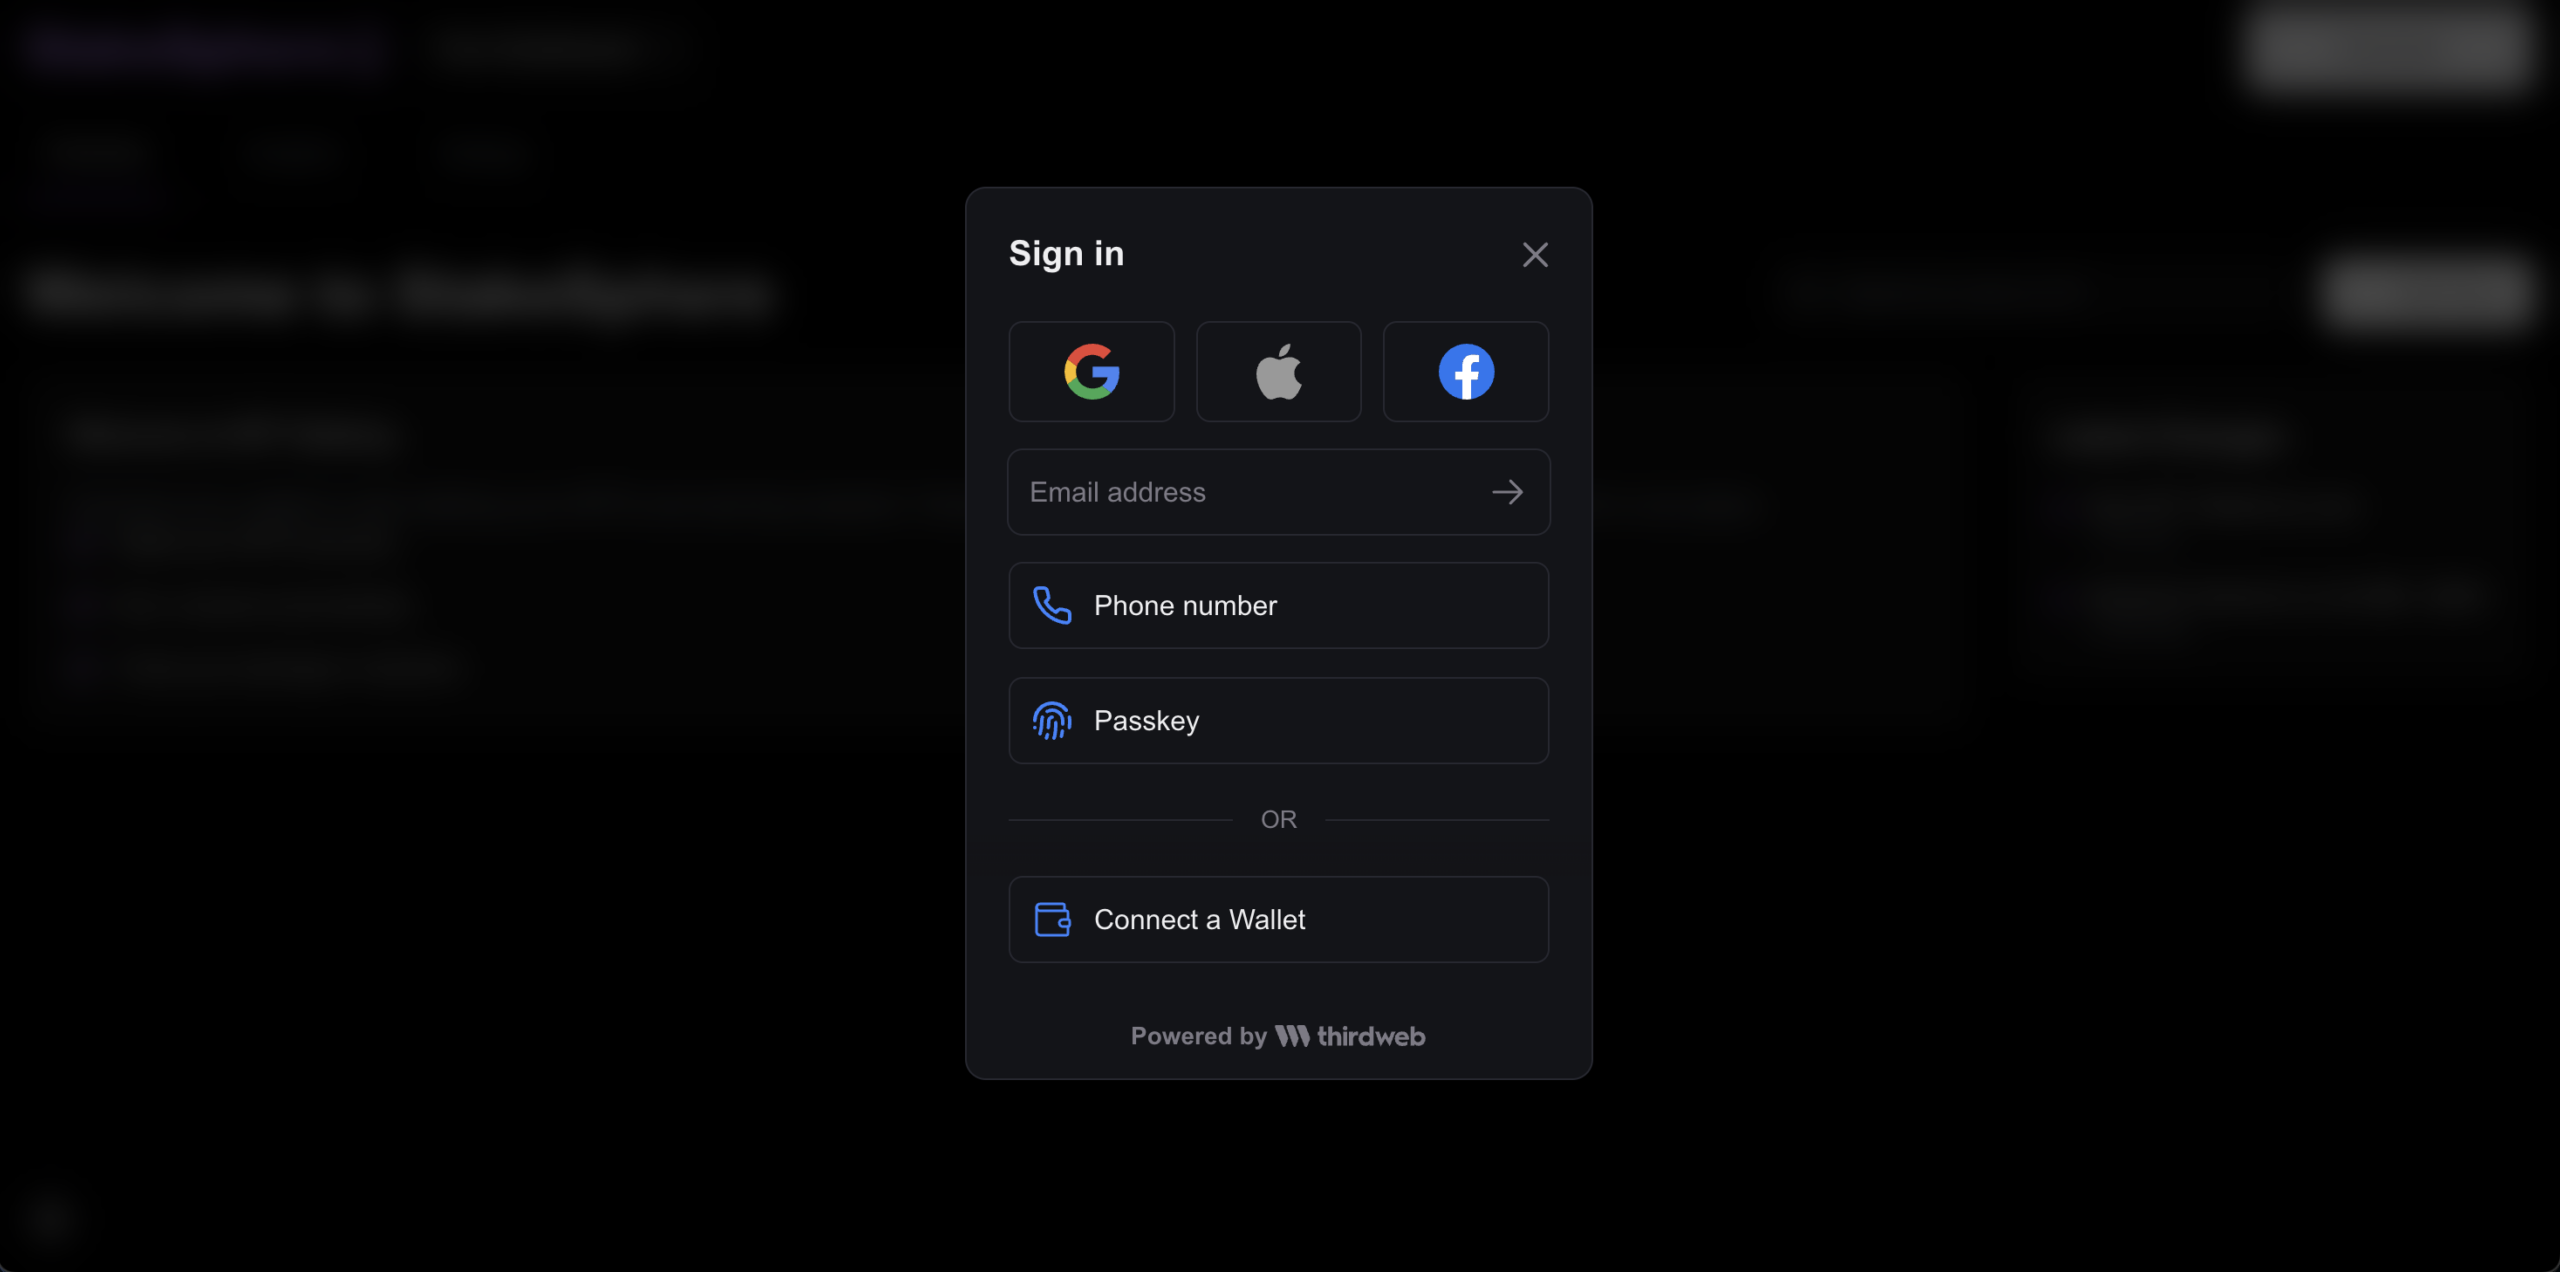
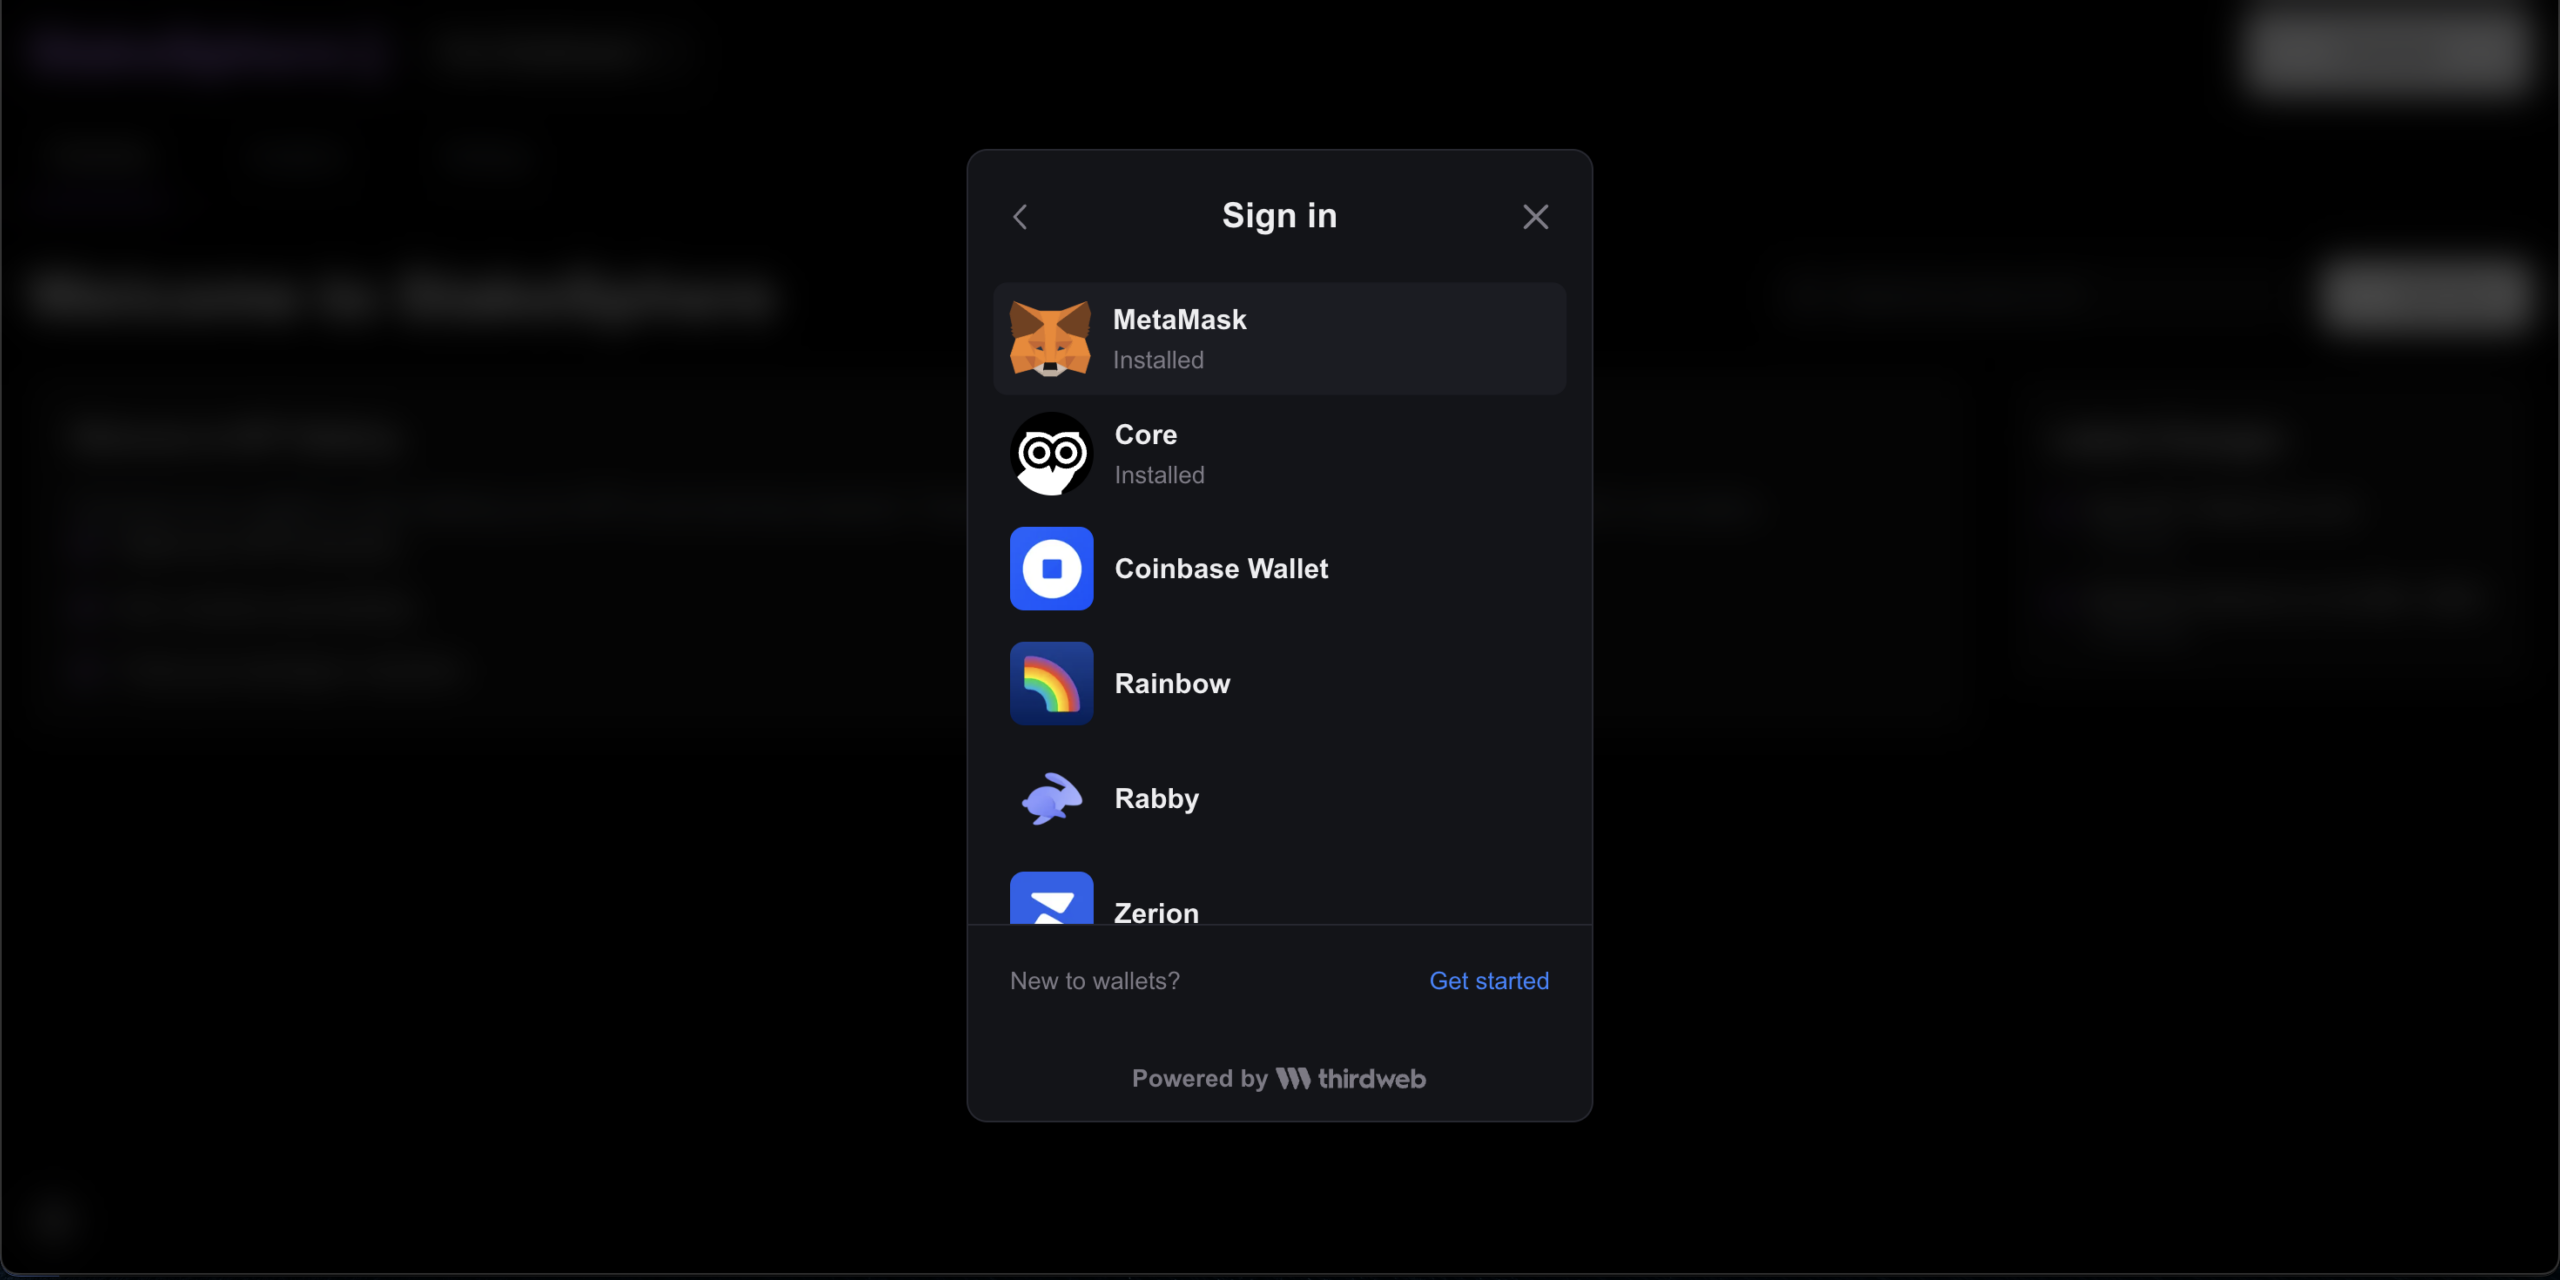
Connect Wallet:
Users connect their wallet using the wallet connect button. Supported wallets include MetaMask, Coinbase Wallet, and others.
Claim NFT:
If a user doesn’t own any NFT, they can claim one via the “Claim NFT” button. The application checks the user’s wallet before allowing staking.
Stake NFT:
Users select an NFT from their wallet.
The app prompts two transactions:
Approval of the NFT.
Staking of the NFT.
Once staked, users begin earning rewards.
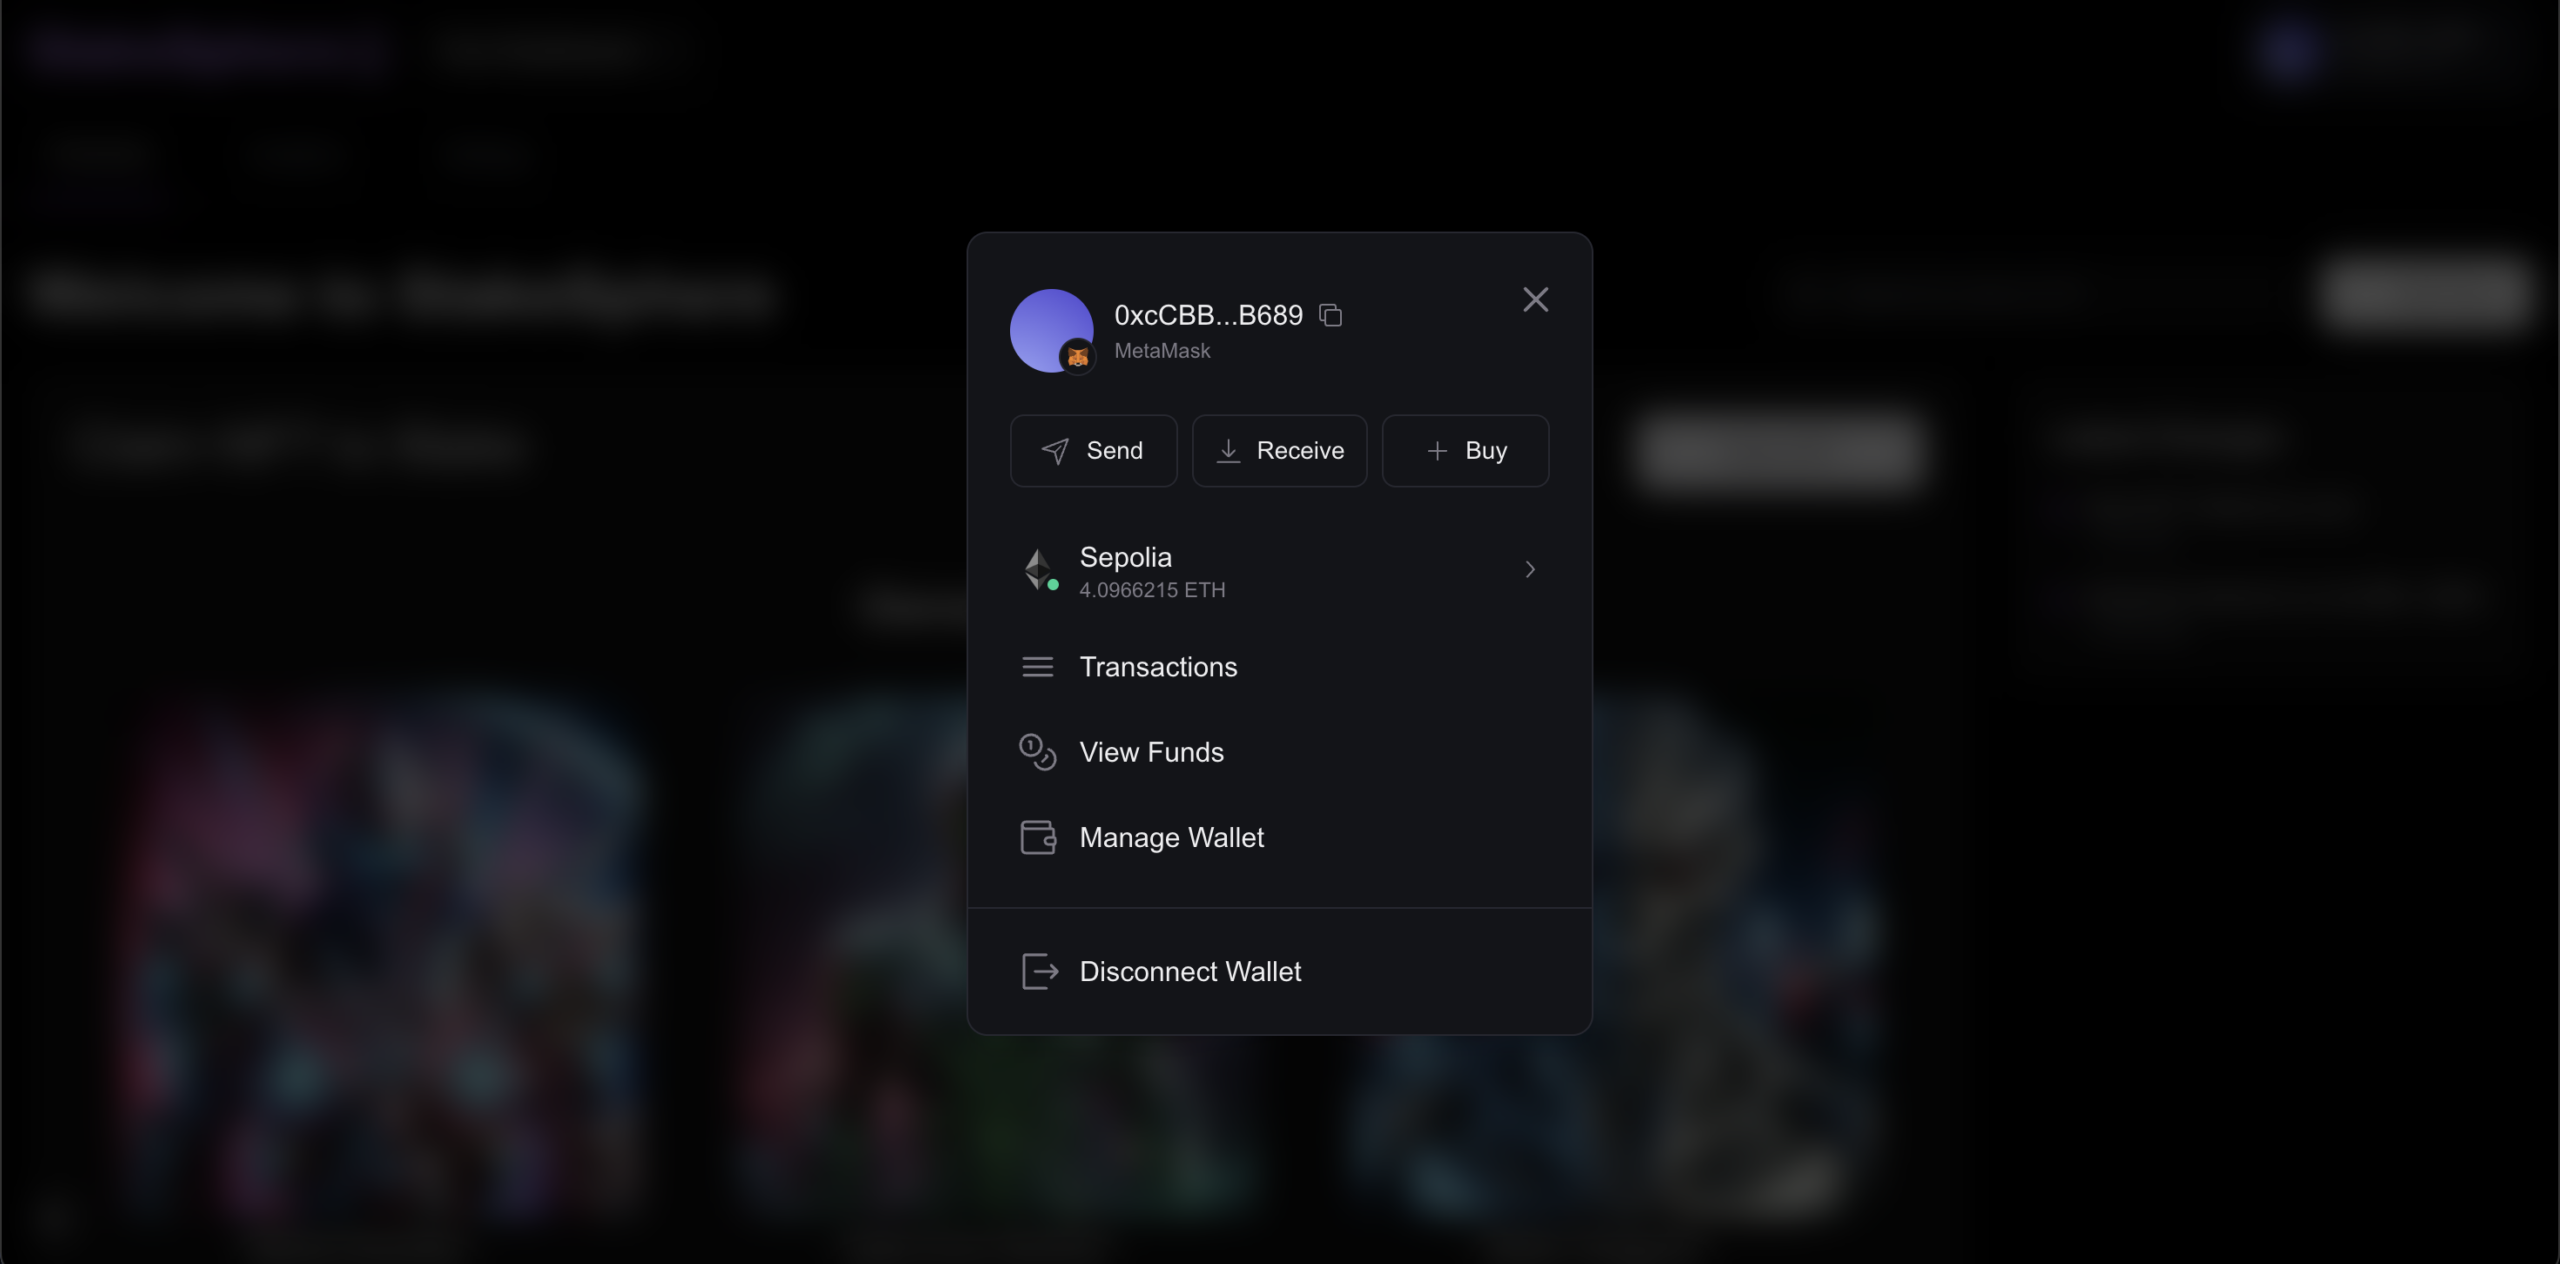
Withdraw NFT:
Users can withdraw any staked NFT back to their wallet. Rewards are calculated and distributed based on the staking duration.
Contributions are welcome! Please fork the repository, create a feature branch, and submit a pull request. Ensure your code follows the project’s coding standards.